Hello Friend My Name Is Viraj,Today I Will Create Image Gallery And Display On A Webpage.The emergence of CSS3 technology has enabled web designers to display images in a more interesting format without the need for jQuery. In this tutorial I would like to show you a simple way to animate an image gallery using HTML and CSS3.Sometimes you just want a simple Image Gallery. With no php, javascript or flashy Adobe flash required. Just simple, quick and dirty HTML that you can type out and be done with your post.The images you want to use in their Original format.Every image in a thumbnail format (duplicates, preferably in 150x150px).Optional: HTML editor with color coding.This article will provide code snippets on how to make an image gallery using nothing but CSS3. This will be of particular use for sites that specialize in showing images, or for commerce sites that use thumbnail images of products and want the functionality of enlarging the images.There are two variants of the demo: demo 1 and demo 2. While the variations are extremely similar, they do exhibit different characteristics. As we step through the code, those differences will be noted. The original author of this code is unknown. The site from which I discovered how to create this image gallery does not list the developer’s name.Let’s get started with placing the images on the screen. This will be done simply by floating the images to the left. There will be four rows that contain four pictures each and will be set at 25% height and width. The borders are placed in a container through box-sizing.In this tutorial you will learn how to create a simple and effective html photo gallery using a little JavaScript that you might need for your portfolio or a personal project.As this will be just a simple html photo gallery, when you hover the thumbnails, we will change the source of images just by using a single line of JavaScript, so the difficulty should be easy.Here In This Html Tutorial We Will Create Image Gallery In Html/Css/Javascript Code.Here In This Blog We Will Create Image Gallery In Html/Css/Javascript Code.Here Is An Example Related To Topic Bellow....................
So Let Begin With Our Coding............
Step 1 :
<!DOCTYPE html>
<html>
<head>
<style>
div.gallery {
margin: 5px;
border: 1px solid #ccc;
float: left;
width: 180px;
}
div.gallery:hover {
border: 1px solid #777;
}
div.gallery img {
width: 100%;
height: auto;
}
div.desc {
padding: 15px;
text-align: center;
}
</style>
</head>
<body>
<div class="gallery">
<a target="_blank" href="E:\sheru_pick\IMG_20160603_225817.jpg">
<img src="E:\sheru_pick\IMG_20160603_225817.jpg" alt="Baby Lab" width="300" height="200">
</a>
<div class="desc">Add a description of the image here</div>
</div>
<div class="gallery">
<a target="_blank" href="E:\sheru_pick\IMG_20160605_195420.jpg">
<img src="E:\sheru_pick\IMG_20160605_195420.jpg" alt="Baby Lab" width="600" height="400">
</a>
<div class="desc">Add a description of the image here</div>
</div>
<div class="gallery">
<a target="_blank" href="E:\sheru_pick\IMG_20160605_195420.jpg">
<img src="E:\sheru_pick\IMG_20160605_195420.jpg" alt="Baby Lab" width="600" height="400">
</a>
<div class="desc">Add a description of the image here</div>
</div>
<div class="gallery">
<a target="_blank" href="E:\sheru_pick\IMG_20160607_151914.jpg">
<img src="E:\sheru_pick\IMG_20160607_151914.jpg" alt="Baby Lab" width="600" height="400">
</a>
<div class="desc">Add a description of the image here</div>
</div>
</body>
</html>
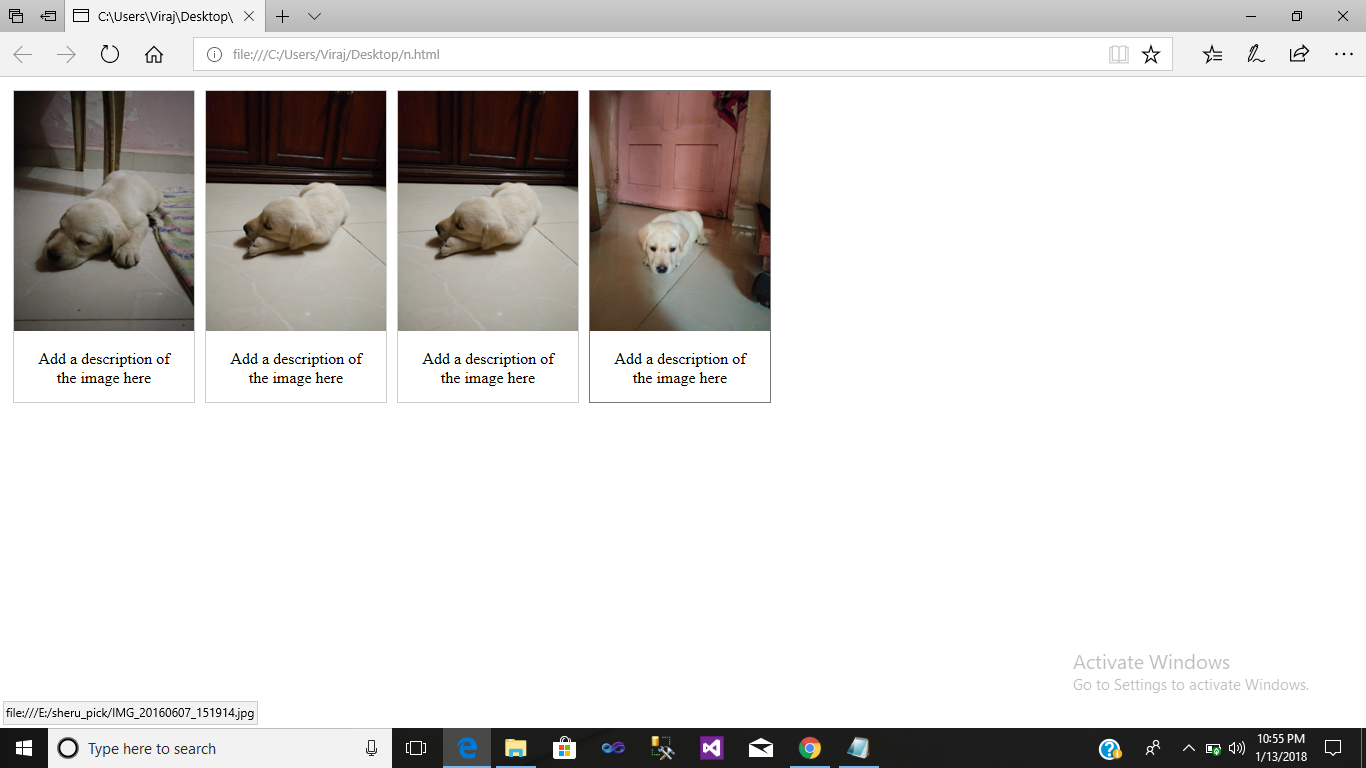
Output :